System settings
System Settings let you customize how Prophix One Cash Management works. These settings help make the system match how your company manages data. You will find several tabs that control key features of the system.
Access the System Settings page
Navigate to  Options Settings > System Settings.
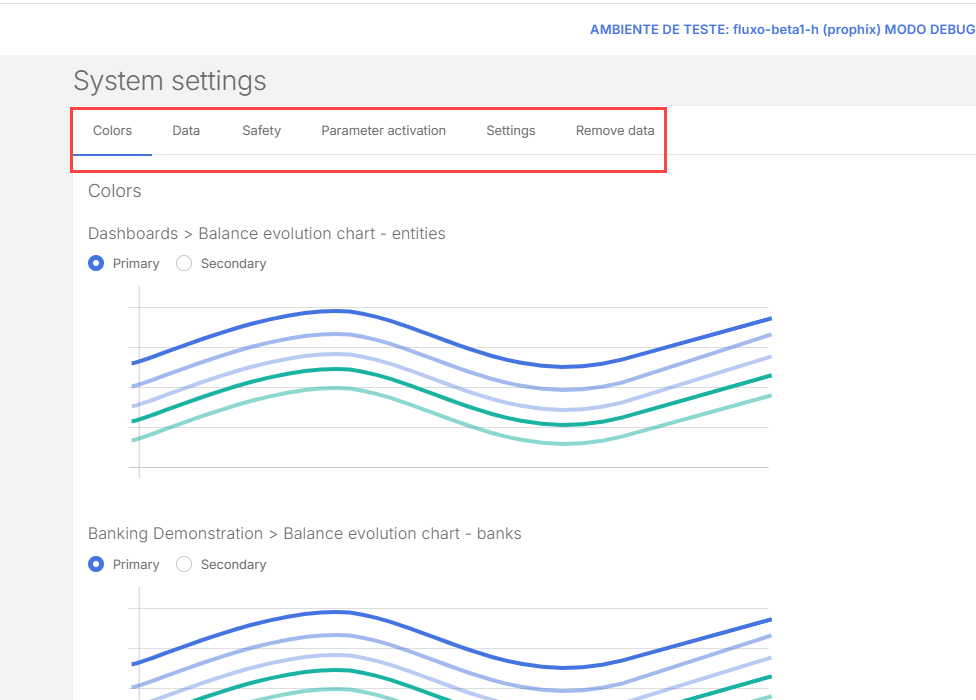
Each tab in the System settings page controls a different part of Cash Management. Here is what you can use them to do:
-
Colors: Set the main and secondary colors used in the system.
-
Data: Decide how cash flow information appears.
-
Security: Add extra protection when logging into the system.
-
Parameter Activation: Turn on optional features like cost centers, projects, and more.
-
Settings: Set general preferences to match your company’s needs.
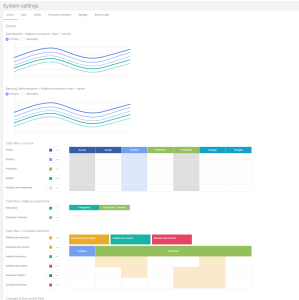
Colors
Customize the colour scheme used across the application interface.
-
Access System settings.
-
In the Colors tab, choose the Primary and Secondary colors for the different sections: Dashboards, Banking Demonstrations, Cash flow > Current, Cash flow >Manual projections, etc.
-
Click
 to apply the changes.
 Note: To reset any of these colors, click
 .
.

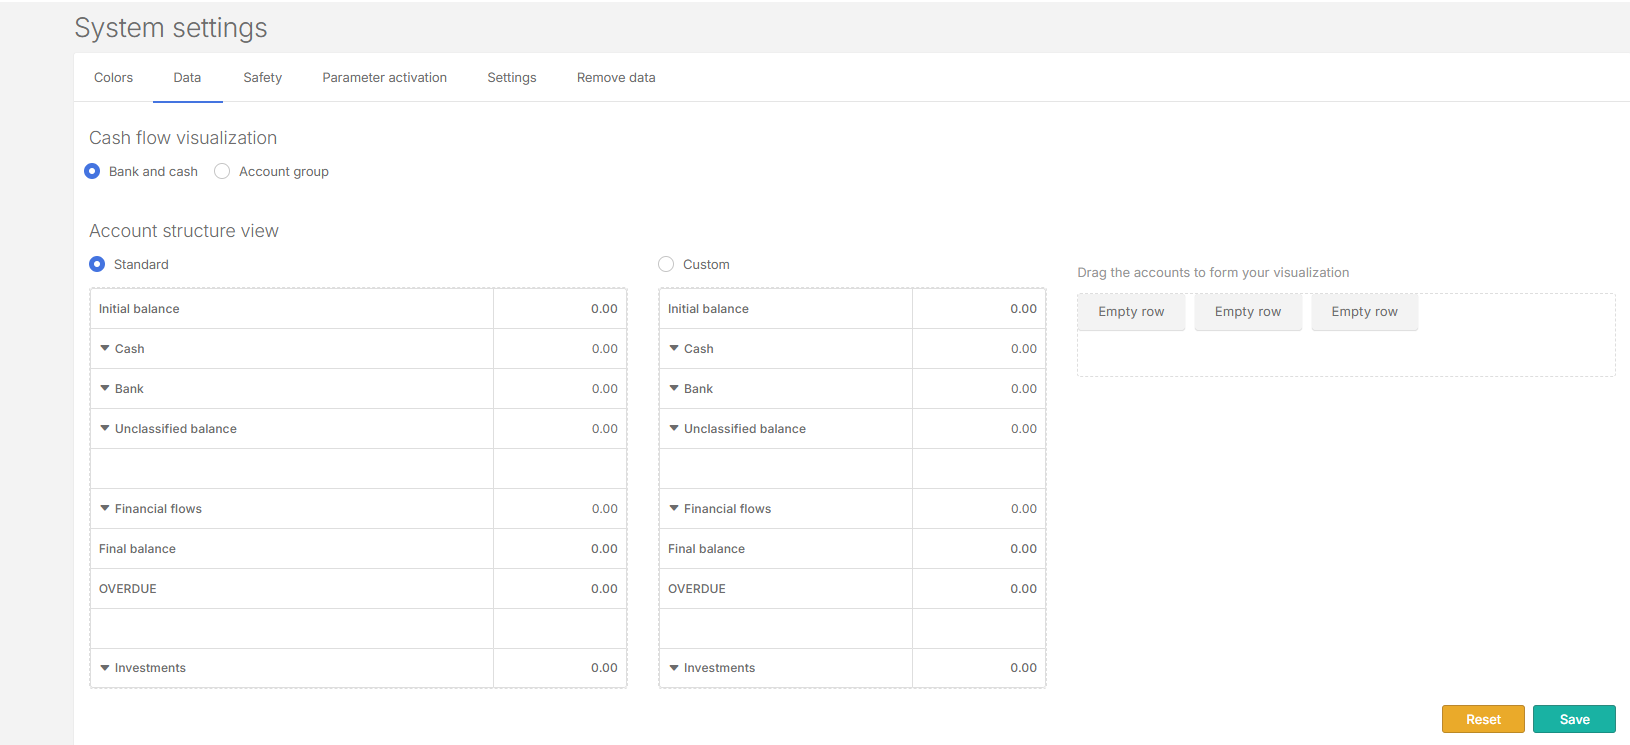
Data
Manage data settings in the application.
-
Access System settings.
-
Click the Data tab.
-
Adjust the settings for:
-
Cash flow visualization : Choose between Bank and Cash or Account Group mode.
-
Account Structure View: Use either Standard or Custom layout.
-
In Custom, drag and drop the sections where you want them.
-
-
-
Click
to apply the changes. Note: To reset, click
.
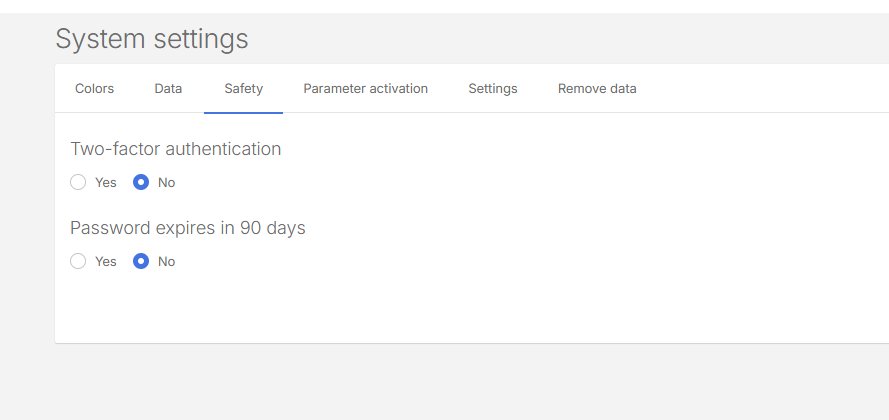
Safety
Set authentication and password requirements to ensure secure access.
-
Access System settings.
-
Click the Safety tab.
-
You can turn on:
-
Two-factor Authentication for extra login protection.
-
Password Expiry (every 90 days) to keep passwords secure
-
-
Click
to apply the changes. Note: To reset, click
.
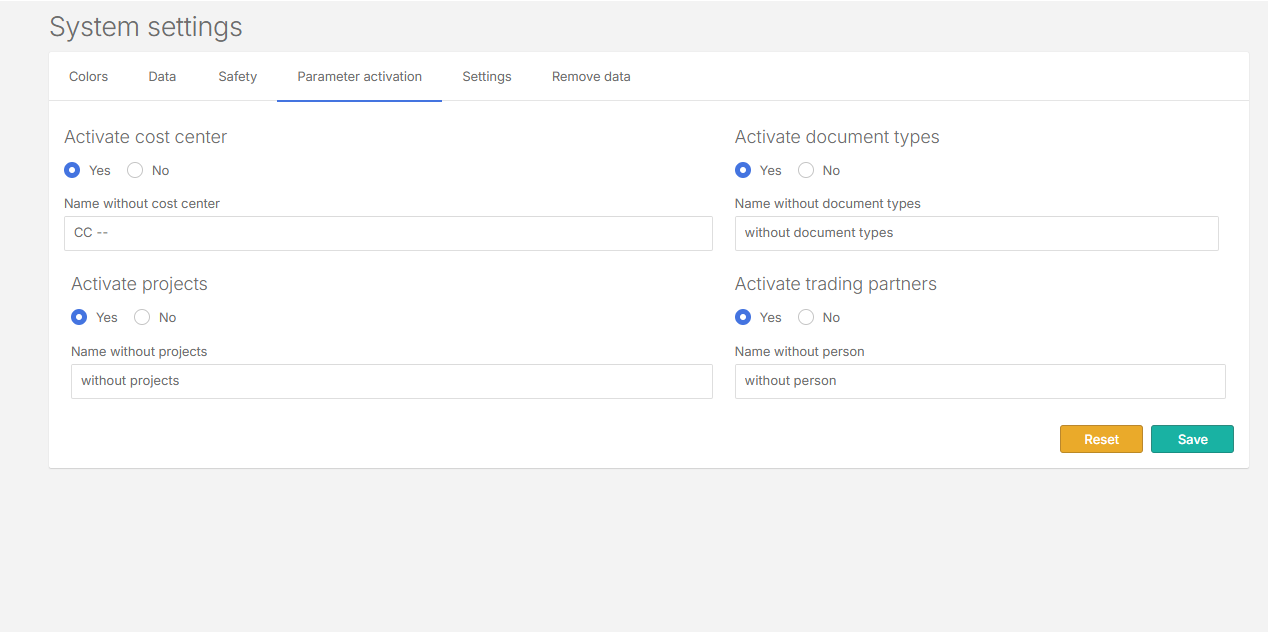
Parameter activation
Enable or disable features across the application.
-
Access System settings.
-
Click the Parameter activation tab.
-
You can activate these features:
-
Cost Center: To organize cash flow by cost center.
-
Projects: To track financial information by project.
-
Document types: To filter by invoices, bills, credit or debit cards, etc.
-
Trading partners: To register customers and suppliers.
-
-
Click
to apply the changes. Note: To reset, click
.
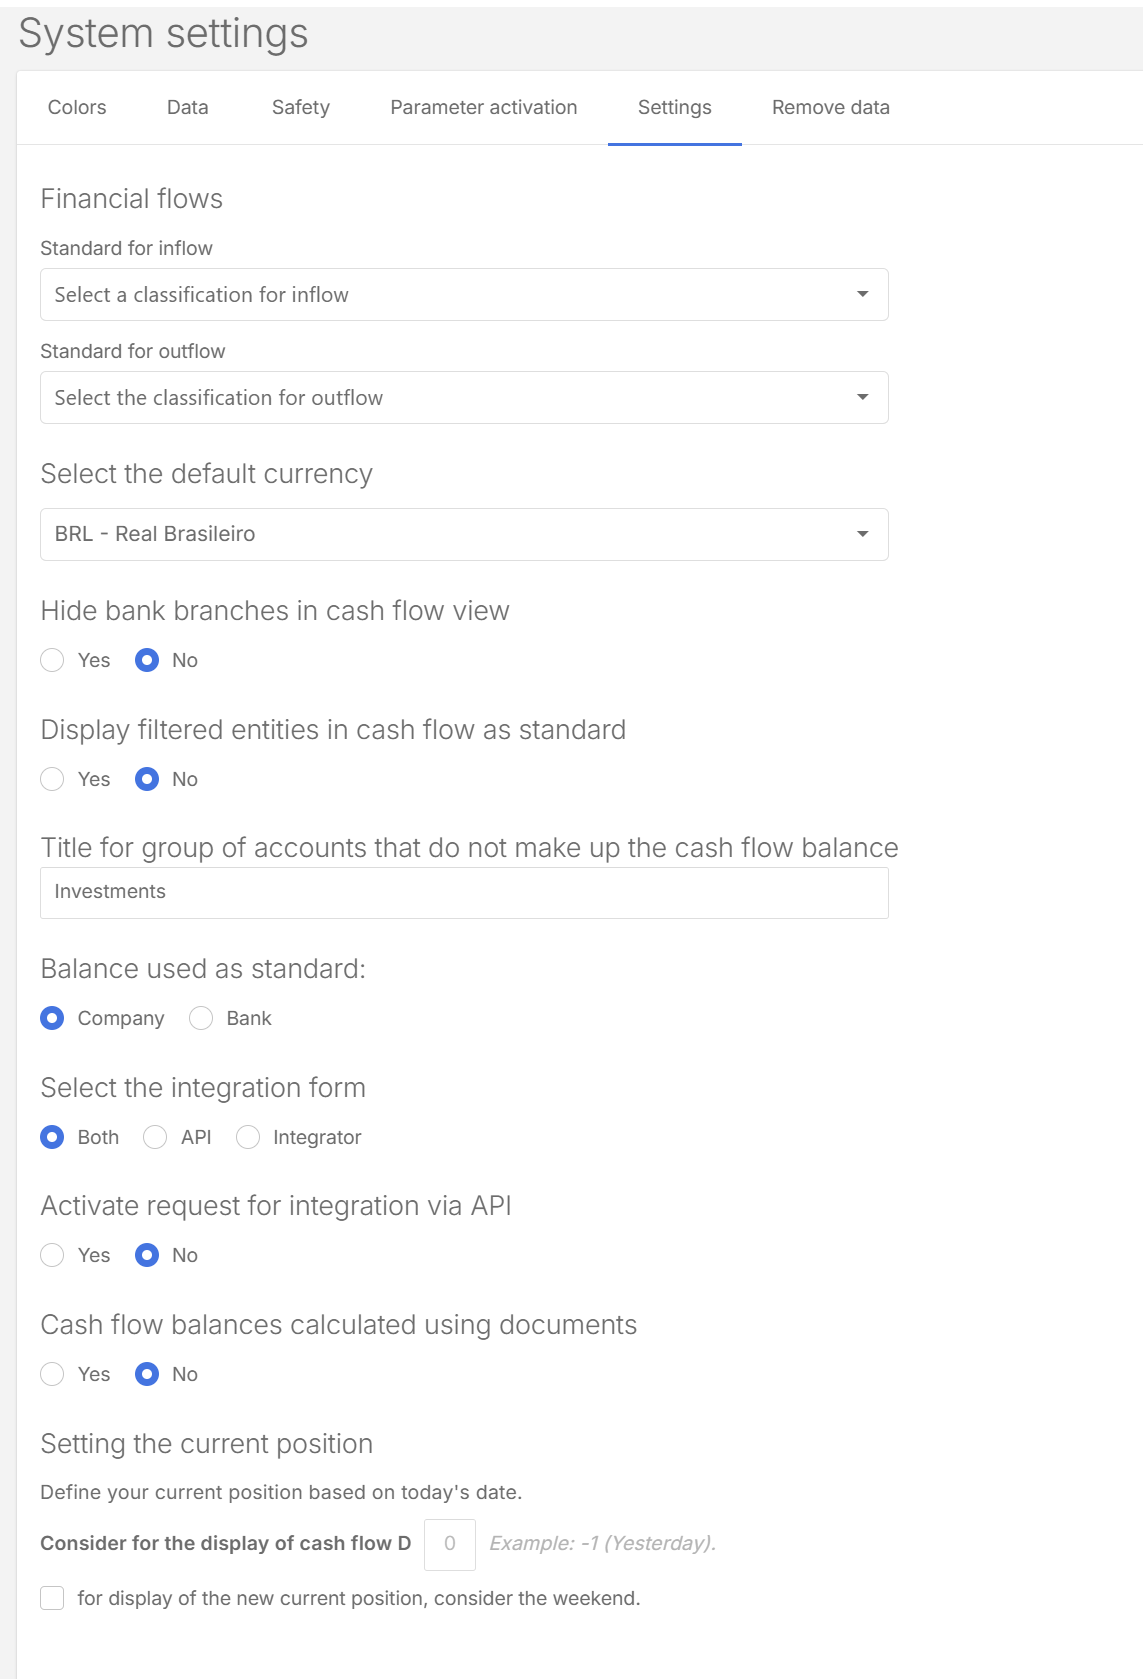
Define global default settings
Define global defaults such as currency, entity display, visibility of bank branches , etc.
-
Access System settings.
-
Click the Settings tab.
-
Adjust the options as needed.
-
Click
to apply the changes.
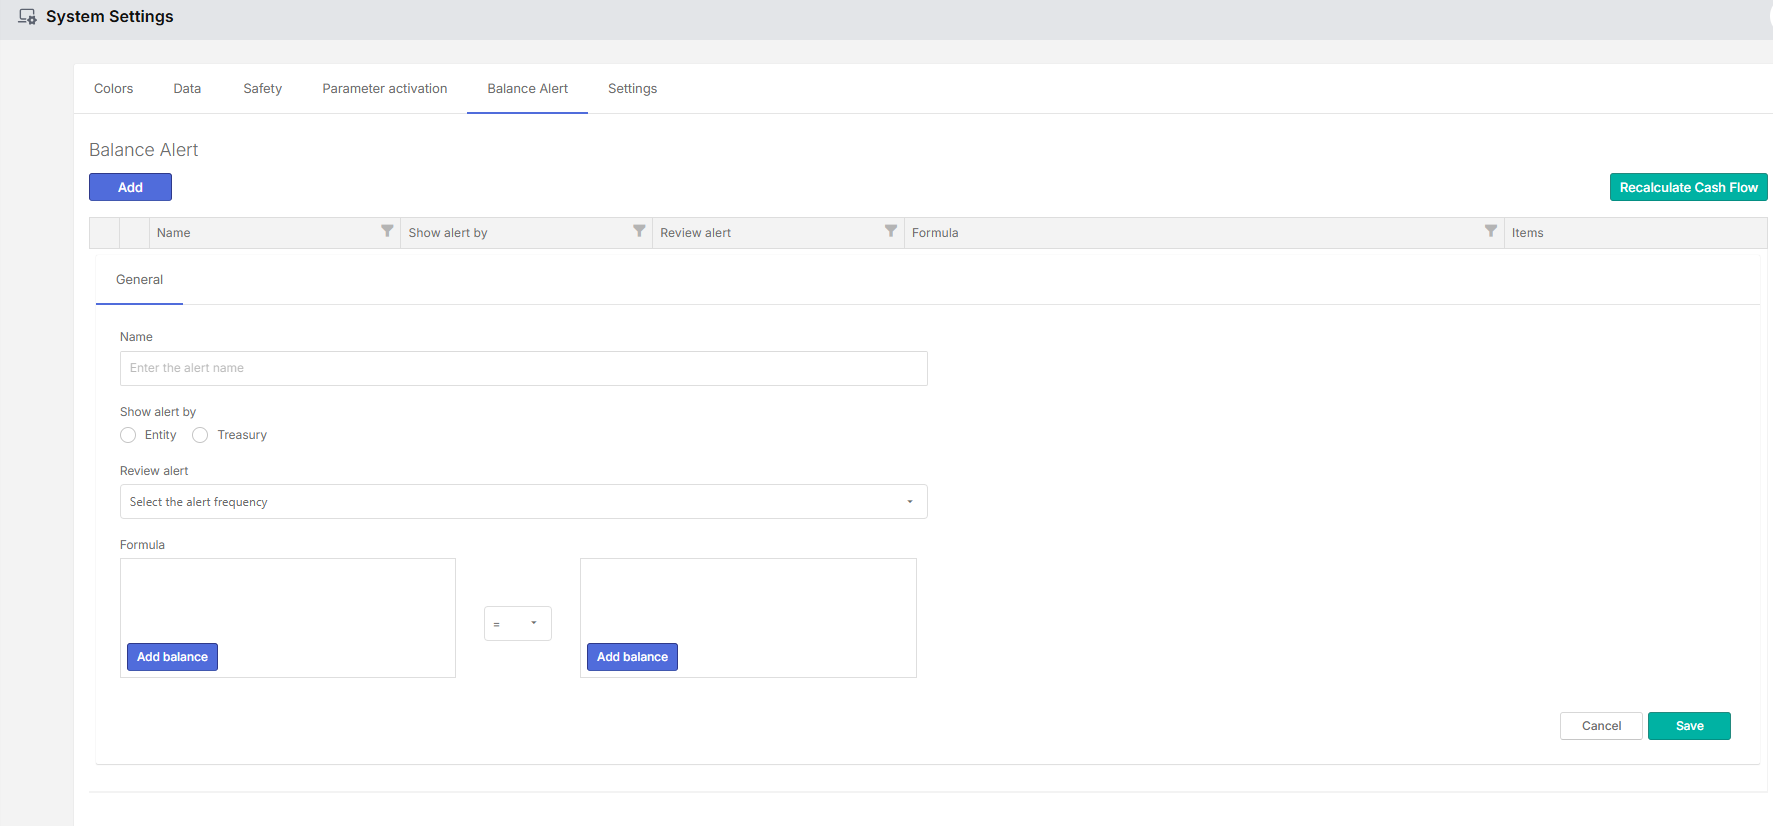
Balance alert
Configure alerts for balance monitoring in Cash Management. These alerts help identify when balances require attention during cash flow processing. Administrators define how and when balance alerts should be generated. Alerts can be configured at different levels to match the organization’s monitoring needs.
-
Select whether the alert applies by Entity or by Treasury
-
Define the alert frequency, such as when the system should check balances
-
Enable or update alert settings based on business requirements
-
Recalculate the cash flow so the alert configuration is applied
After configuration, the system monitors balances according to the selected criteria. When the defined conditions are met, balance alerts are generated and displayed in the application, allowing users to identify and investigate potential issues.